For a long time, I despised breaks because I had nothing to do. For me, it was just an empty slot of time that my parents took advantage of to push me towards more workbooks, study my foreign language, or to play piano. But now, I've been finding other ways to occupy myself during this one week.
1. Make Your Wishlist
I know this is really controversial (it's thanksgiving break), but it's a way to fill up loose time. You could also plan Christmas presents for your family or friends.
2. Bake Cookies
Winter always meant that I was allowed to bake again. My father didn't like me baking in the summer because he said that it was too hot to bake anything. During the fall and winter season I produce batch after batch of chocolate chip-cookies.
For an easier, not-much-hassle instant dessert with as much gratification as something homemade, you could go for microwave desserts. Buzzfeed gives you a list of Microwaveable Desserts in a Mug and I've tried this one microwave cake.
3. Start reading a book. And hopefully finish it.
Ever since school started, I've been having less and less time to read books. During breaks, I use this time to attack the library and hoard books. Even though I know that most will be returned without being touched or kept in the corner until the overdue fines suffocate me, I still like the feeling of having a good story on my bedside table.
Go running. Do scrunches. I don't have a set workout plan since my daily Phys. Ed. class usually does the trick, but during breaks I like to keep that up.
I usually run a mile a week, 25 sit-ups, and do some wall sits while reading a book.
Although my 'workout' may not seem thorough enough, it's enough to keep me feeling alive and healthy.
Lately, I've been all about mason jars. Even though I haven't gotten around to buying a few, but anything you put in them could possibly come out adorable. This is a list of DIYs you could make (and then put in Mason Jars).
Washi tape has also been really big lately, especially when Back-To-School season was here. It's an easier alternative to spray painting or designing. Here is a compilation of Washi Tape DIYs you could tackle this thanksgiving break.
~~Or Maybe..
6. Tackle Homework
We all know how much High School teachers love to pile on homework during breaks. Might as well get it done earlier than on Sunday night...
7. Play Video Games
What else are breaks for then?
8. Finish up the rest of your Halloween Candy
If you didn't go trick-or-treating, finish up all the sweets in your house.
9. Play Clicking Games.
Lately I've been getting addicted to Clicker Heros. It runs in your cookies, so it should still be working even if your wifi is down.
(I have ascended twice!)
10. Sleep
Of course.
For some reason, this year I'm so excited for the holiday season. It might be because everyday has been consistently too warm for my liking and I'm desperately waiting for December in hopes that it actually rains for once.
I've been hoping to do the DIY Sharpie Mugs that I've been seeing everywhere on Pinterest and I'll post something about that closer to Christmas time.
But since this project is going to take significantly longer time, I had decided to start it now.
B e g i n n i n g N o t e s :
My How-To book is on how to draw Anime or Manga characters (in a very 'Audrey-like way'). So for this purpose, I bought a sketch book.
Your How-To book can be on anything. You don't have to buy a sketch book, you can create your own book, use a notebook, or just bind a few sheets of copy paper together.
I bought my sketch books from Barnes and Noble. Their sketch books are cute and are usually under 15 bucks.
M A T E R I A L S :
For this project I used these colorful gel pens, a standard black pen, a pencil and an eraser.
The reason why I'm using a wooden pencil is that it usually writes lighter, so it erases better. It also produces thicker lines, which I think would be helpful for the reader to see and understand.
The black pen is used to write paragraphs of information. Whereas the color pens I use to color code certain words, or just to make the page look brighter and more welcoming.
You also might want to throw in a ruler or straightedge if you can't write straight or you require one to work on your book.
What I did:
Since this is a very individualized, creative present, I can't exactly give you a set of steps to follow. Instead, I can offer you a list of tips.
Decorate The Front Cover: Make it fancy, colorful and inviting. Since my cover was originally black and white, I filled in some white space with some Sharpies.
An Intro Page and Table of Contents: Easy navigation is always a helpful thing. If you're out of ideas, you can use the ToC to take up some space. In the Intro, you can leave a small little note of happy holidays or give a reason to why you made the book.
Separate Sections with Tabs: Use colorful tabs to make a statement. I'm using neon colored paper tabs to color code certain areas. I couldn't find the exact one that I bought myself, but there is a similar more durable type here.
Quick DIY/Alternate Idea:
Buy colored post-it notes and cut them in thirds.
Have Sections and Sub-Sections: Organize your thoughts into categories, make large general sections and set smaller more detailed spaces
As sort of a little tid-bit:
My mother brought home some Beijing Yogurt, and they're one of the best things you'll try. They're sweet unlike the plain yogurt that you buy here. If you buy them in Beijing, they sell them with straws (I know it's kind of weird) but you actually 'drink' your yogurt.
I'll be posting within a few weeks on possibly more DIYs for Christmas presents!
XX, Audrey
This DIY was taken from Pinterest (and we all know how hard Pinterest DIYs can be to complete), I found out this one to be relatively easy and do-able. Although this DIY is slightly time-consuming, the product is extremely cute.
DIY: Heart-Shaped Papercips
Materials:
Paperclips (any color, mine are the standard silver)
Wire Pliers
Sharpies (optional)
Steps:
Take your paperclip and locate the longest end (shown by arrow above)
Use your pliers and clamp over the wire at the middle
You might have to fit the pliers in between two of the wires
Using your fingers, bend the two ends of the paperclip up until the paperclip resembles a heart
I'm not strong enough, so to make the paperclips bend the whole way, I used the edge of the table to help me.
These paperclips look adorable, and can also resemble a heart when you clip them. Although some of them may not clip easily, they are really cute to keep on your desk. Some of my paperclips also clip differently, which I found was really interesting.
Sharpies: Because my paperclips were silver, I decided to color them using Sharpies. It's harder than it seems, because your fingers get stained with the color, and within the first few minutes it's easy for the ink to rub off. It's also pretty hard to try to get the edges of the paperclip to make it entirely red, or else you'll see bits of silver poking out of the corners.
I originally wanted to create a binder cover with various tissue paper that I had slowly accumulated over the years. But after a few weeks of desperately taking photos and recreating the same one for my Spanish binder over and over again for a blog post quickly became old, I decided on a new idea.
Minimalist Quote Binder Covers
Materials:
Ruler (optional)
Fine Point Sharpies (in multiple colors)
Copy paper
Binder
Quotes
Pencil (optional)
I chose my Sharpies in complimentary colors, or similar ones so they would look better together. I also had some according to the design I wanted to make.
Any size paper is fine for this, but I used the classic warehouse paper. Make sure your binder has a clear plastic covering in the front so you can slip your cover in there.
Finding Quotes:
I chose four quotes; two song lyrics and two book quotes.
Song quotes: Go through your playlist, or a list of songs that you like and choose some of your favorites. I googled up their lyrics and chose a few of my favorite lines from each. Book quotes: I went to goodreads and went through a bunch of quotes from books that I had already read previously. Quotes from people: Try Brainyquote, Goodreads, or Great-quotes. Goodreads gives you a list of the most popular (or most liked) quotes on the site. Brainyquote and Great-quotes allow you to search through quotes at either people or topic.
It's pretty simple...
Take your paper
Smack your quote on it in fancy colors and fonts with your sharpies
Decorate around it
Done
Designing it?
I used my ruler as a tool to create cool geometric patterns. Both of mine were dealing with lines, but you can use triangles, oddly angled squares (for a more interesting effect), octagons, parabolas and anything else that you come up with.
Color Combinations that I used:
*Color names are not accurate.
Since I didn't have another blue color that went nicely with light blue, I chose a light purple and that definitely works. You don't have work with similar colors, you can definitely choose crazy, clashing colors.
You can go all dark colors, or all pastel colors too. Another idea, is making your cover rainbow.
My designs:
Thanks guys~
I hope this helped you a lot. I really loved these binder covers and I hope that you'll find them cute and usable too!
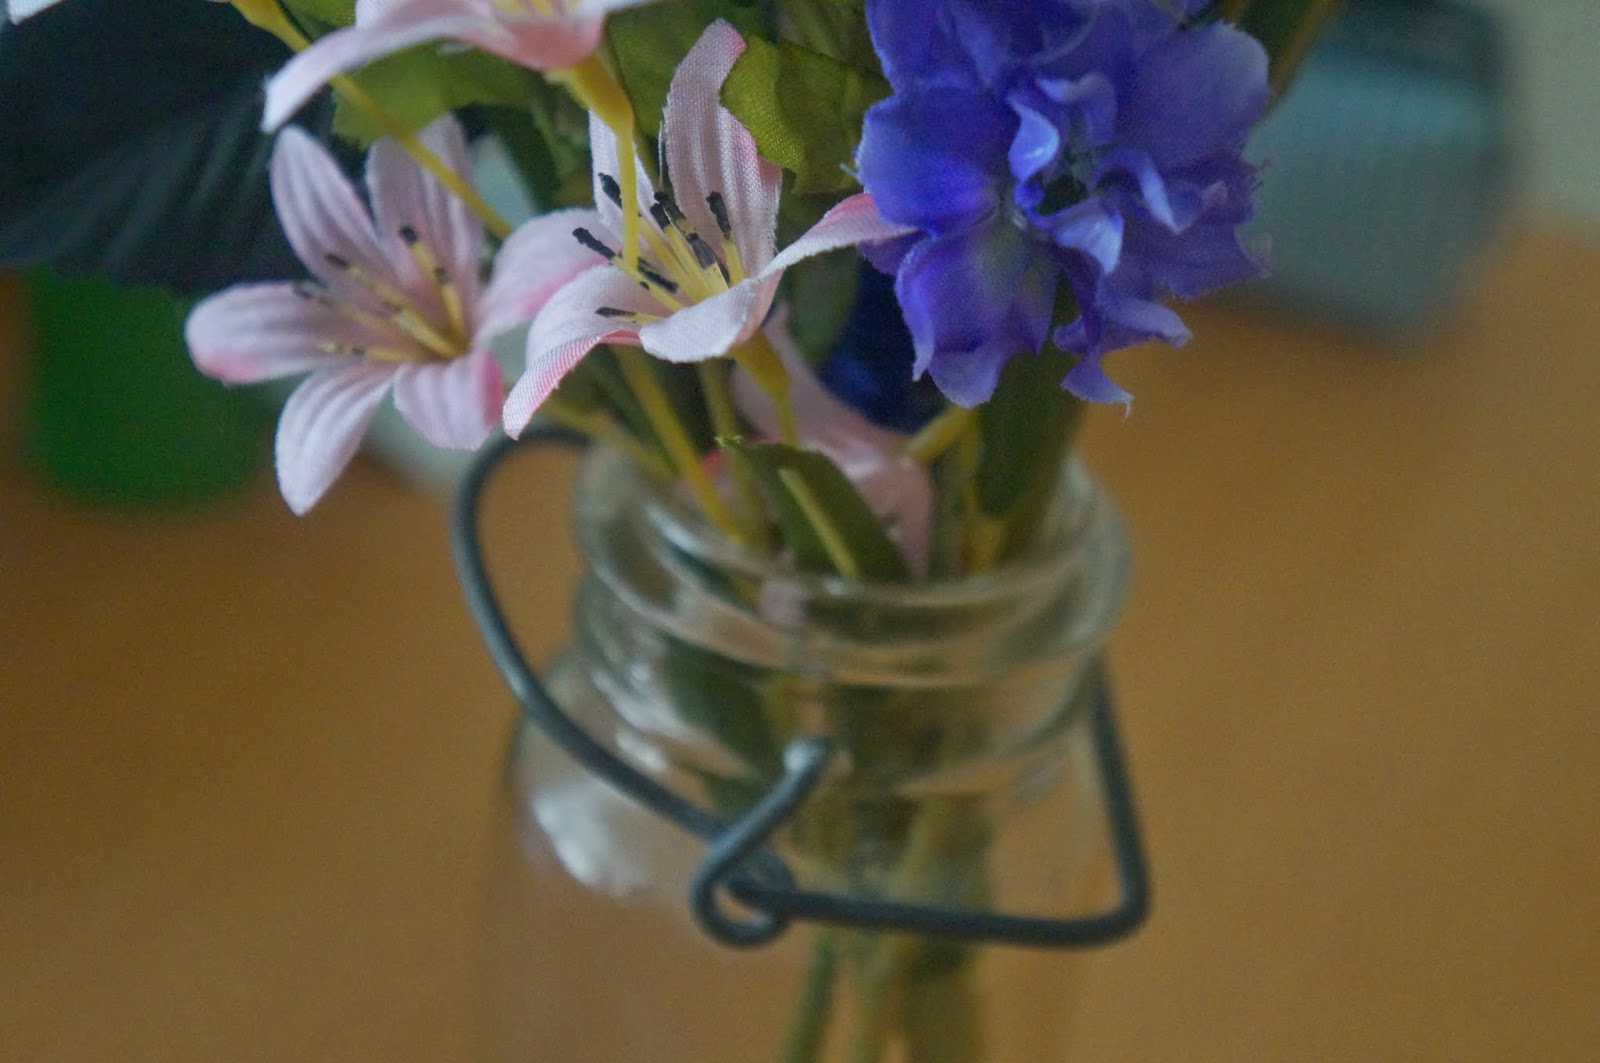
After my previous DIY. I decided to incorporate those into an idea. I used the original Mason Jar and a bunch of fake flowers I had bought from Michael's (which were originally used for making a flower crown).
I spritzed my paper stars with some of my perfume. I have a bouquet of baby pink, baby blue, periwinkle blue, and purple flowers with a single black rose. The Mason jar adds character, the stars bring a hint of Kawaii-ness that I adore.
I absolutely love this because it keeps my table looking alive and beautiful. C:
- I found my Mason jar around my house so I can't link to a replica
Lucky stars have always been something that I wanted to make since I was a little kid. But I could never get a hang of folding the little pieces of paper. Now, about 4 years later, I got to make those little origami stars. After 40-or-so stars and two-and-a-half hours, I was finally confident enough to build this tutorial for you guys!
Materials
8.5x11 Copy Paper
Scissors
Ruler
Pencil
Optional:
tape
coloring utensils
jar
*Thick/heavy paper like construction paper is not easy to work with
Step 1
Starting from the edge of your paper (lay your paper portrait orientated or hamburger style), make a tick mark every centimeter with your ruler. This will help you separate the paper into strips. Each sheet of paper makes about roughly 22 strips.
Step 2
Using your ruler, draw lines from the tick marks that you just created to separate your paper into strips.
**Optional: You can color your paper during this step to make it multicolored. Just watch which side you colored it when you fold your star! You can also do this step after step 3
Step 3
Cut along the lines that you just created on your paper.
**Optional: You can write a small message inside the paper :) These would be cute gifts if you wrote someone sweet for someone, folded them into stars and put a whole bunch of them together in a jar (I used a Mason jar).
Step 4
Take one of your strips and make a knot at the end of it. Make sure that that your shorter end goes on top of your larger end and fold it through the loop. Pull it and tighten. The knot should create a pentagon-like shape. Make sure that none of your ends are bent, twisted or ripped.
**Remember: A good knot is the base of a good star! If you don't have a strong base, you won't have a nice star.
Step 5
Take your short end and fold it over the pentagon.
Step 6
Take your longer end and fold it over your pentagon. Guide it over a side and keep on folding it over your pentagon. The paper should guide itself over the rest of the pentagon with minor troubles. Once you reach the end of the paper, tuck it under another fold and rip excess off.
**Try to keep your paper as close to the layer previous of it. Creasing the folds may be helpful.
Step 7
Put your fingers on the edges of your pentagon and squeeze it inwards gently. If it doesn't puff up like how it should be, flatted it out and try again.
Your lucky star is done!
I put all of mine in a Mason Jar. I used a pretty blue copy paper and regular white. :)


.png)