I used to be one of those people who'd watch How-To Manga Youtube videos and copy anime drawings off of Google Images. As I would scroll through the comments, I would see a lot of these:
  • Please teach me how to draw a perfect circle!
  • How do you draw perfect circles??? >.<
Well here's a fun fact: in drawing anime faces: you really don't need a perfect circle. As perfect as those Youtubers draw their circles, it doesn't really matter. Draw some kind of oval, egg-shaped thing. You'll still get a pretty close face. 

Why?
  • Are faces perfectly round? 
    • They aren't, so if your circle is perfectly round, it's still going to change into a resemblance of a face. All faces have angles where their eyes are, the bridge of their nose, the line of their jaw. 
  • Anime faces usually have oval faces with a pointy chin (exc. Chibis)
    • If you'd raw a perfect circle, your face is going to turn more round than the oval ones you see so often. 
Well... they can't be too crazy either.
  • Try to aim for something for a bit more oval shaped (not entirely!) not extremely round. It will make it easier for you to shape your cheeks.
  • Make sure that the top of your circle (forehead) is about the same size (or smaller) as the bottom (chin). You can shape your chip later into a more defined point
But I still want to know how to draw a perfect circle!

I have to admit that my circles (that I draw freehand) are pretty close to perfect circles, but the most important part is that it comes with practice. You really can't expect yourself to draw a perfect circle in your first try, so don't get too frustrated with yourself. I've been drawing circles for about 2-3 years, and after all the repetition, my hand is used to the movements. 

Try, Erase 'N Trace

  1. Draw some sort of circle looking thing. 
  2. Fine tune the edges until you get close to a perfect circle. 
  3. Go over their final perfect circle a few times, pressing hard on your pencil so that it makes a like dent in the paper
  4. Erase your circle
  5. Retrace your circle by following the dent that you had previously made
There is another one, in which all you do is draw a circle, and fine tune it. You can erase the edges of your finished circle to make it look neater. The next way is a method I learned in class. 

The more complicated way (and doesn't exactly guarantee a perfect circle) 
  1. Draw a square (yes a square). Make sure to make it about the size of how big you want you circle to be. **The smaller you want your circle to be, the harder it will be to use this method
  2. Starting from the corners of your square, star rounding off the edges so it resembles more and more of a circle
  3. Keep on doing step two until you're satisfied with your ending result 
  4. Erase your previous lines until all you have on your paper is your circle
That's it! If you keep on practicing drawing circles (just free handed), you'll get better and better, I promise. 

Since we're approaching school (mine starts in approximately a month) I decided to put this up. I'll be going into high school, but this is what I'm planning to bring:

First of all. I carry a backpack. I don't know about where ya'll live, but here in the west coast we have girls who carry off-the-shoulder bags and little purses that can barely fit two notebooks. I've been planning to get a Jansport lately, but for the past three years I've been carrying around a High Sierra (no link, but it's white with birds and flowers).

I always have a planner. Mine is from Target for about six to eight bucks. I keep birthdays, dates, appointments and long term assignments in the monthly calendars. Everyday, I write my assignment for the class in the daily planner. My planner is from July 2014 - June 2015, so I won't have to buy another for a whole year!

My pencil case is always a must. My teachers never have jars of pencils on their desks for us to take, so we have to rely on ourselves to bring them. I do have a post on my 'Kawaii pencil case' here. On a regular school day, I would have a tiny eraser, ruler, pencils, pens, highlighters and a sharpie jammed in there.

Lately I've been on a spree for anything adorable and cute. So to match that, my folders are pretty adorable too. I believe I bought these in Japan Town near San Francisco for about a dollar to two per. You can also find them on Amazon for around three dollars.

Notebooks! I don't really prefer 'cute' notebooks because I find that most of them have flimsy paper quality, and covers that are easy to rip or dent. So that's why I gravitate towards Mead's notebooks. They have a durable cover, great paper quality and they last the whole year. They are a bit expensive compared to other brands, but it's worth it.

Other than that. I have my personal stuff. I bring EOS, my period items, and hand sanitizer.


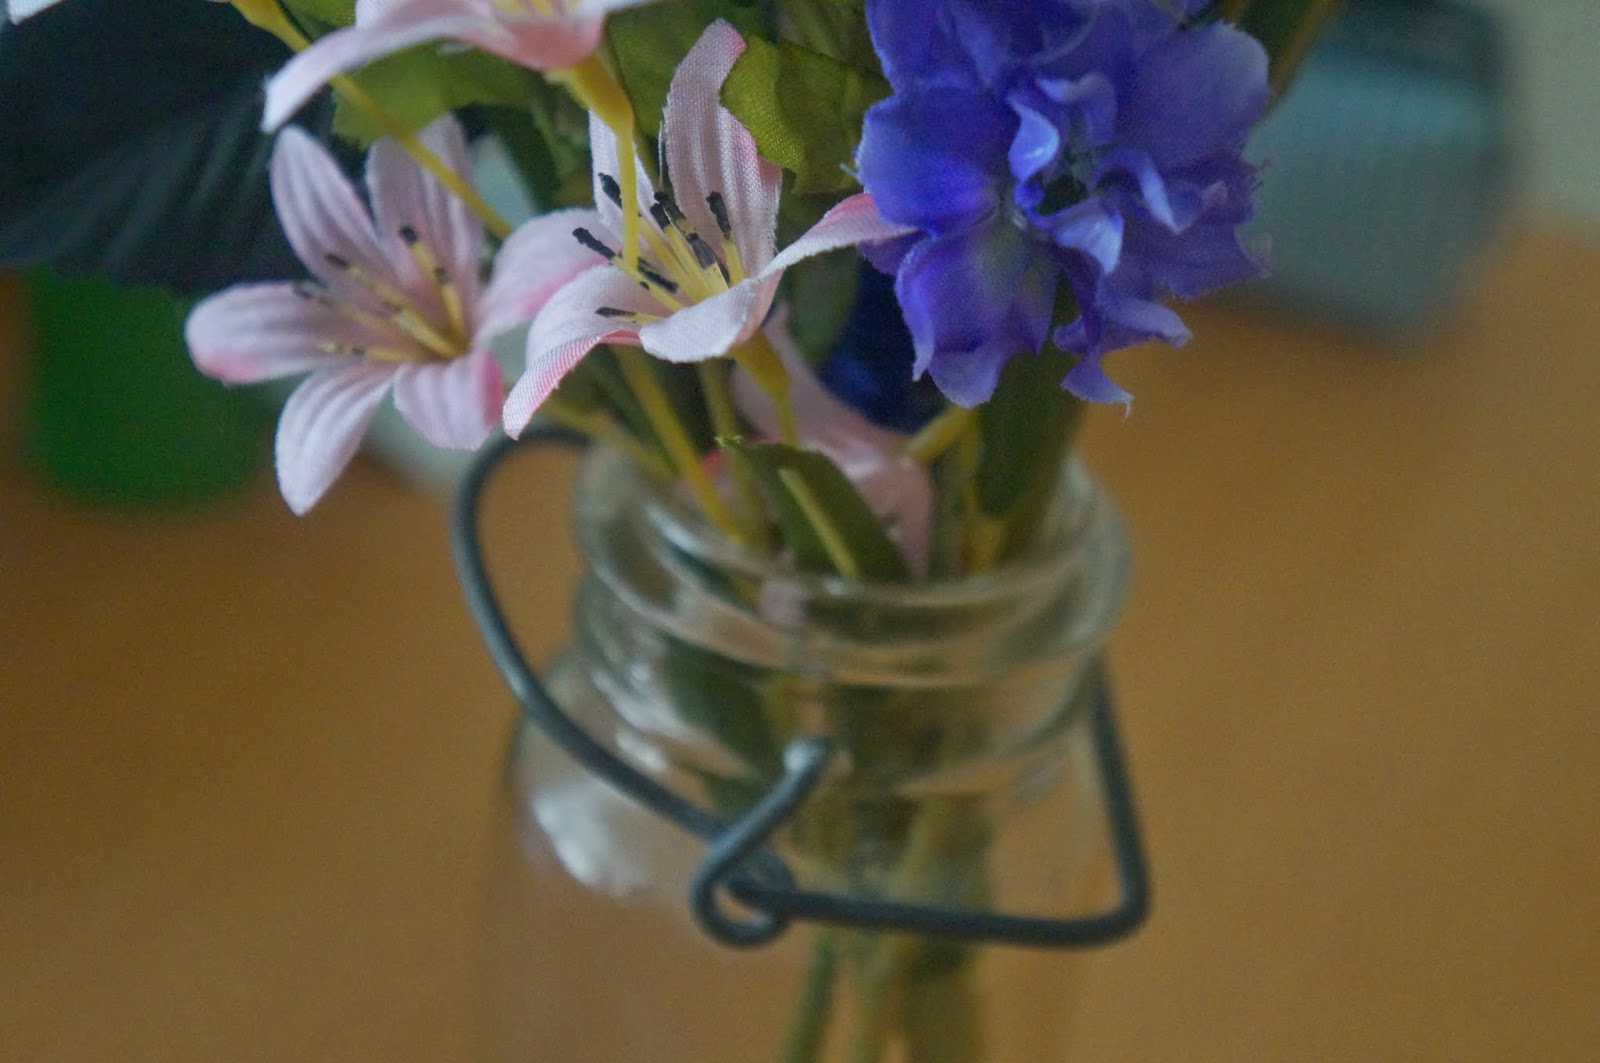
After my previous DIY. I decided to incorporate those into an idea. I used the original Mason Jar and a bunch of fake flowers I had bought from Michael's (which were originally used for making a flower crown).

I spritzed my paper stars with some of my perfume. I have a bouquet of baby pink, baby blue, periwinkle blue, and purple flowers with a single black rose. The Mason jar adds character, the stars bring a hint of Kawaii-ness that I adore. 

I absolutely love this because it keeps my table looking alive and beautiful. C:

Before:


After:


- I found my Mason jar around my house so I can't link to a replica


Lucky stars have always been something that I wanted to make since I was a little kid. But I could never get a hang of folding the little pieces of paper. Now, about 4 years later, I got to make those little origami stars. After 40-or-so stars and two-and-a-half hours, I was finally confident enough to build this tutorial for you guys!

Materials
  • 8.5x11 Copy Paper 
  • Scissors
  • Ruler
  • Pencil
Optional:
  • tape
  • coloring utensils
  • jar
*Thick/heavy paper like construction paper is not easy to work with

Step 1

Starting from the edge of your paper (lay your paper portrait orientated or hamburger style), make a tick mark every centimeter with your ruler. This will help you separate the paper into strips. Each sheet of paper makes about roughly 22 strips.


Step 2

Using your ruler, draw lines from the tick marks that you just created to separate your paper into strips. 

**Optional: You can color your paper during this step to make it multicolored. Just watch which side you colored it when you fold your star! You can also do this step after step 3


Step 3

Cut along the lines that you just created on your paper.


**Optional: You can write a small message inside the paper :) These would be cute gifts if you wrote someone sweet for someone, folded them into stars and put a whole bunch of them together in a jar (I used a Mason jar). 


Step 4

Take one of your strips and make a knot at the end of it. Make sure that that your shorter end goes on top of your larger end and fold it through the loop. Pull it and tighten. The knot should create a pentagon-like shape. Make sure that none of your ends are bent, twisted or ripped.

**Remember: A good knot is the base of a good star! If you don't have a strong base, you won't have a nice star. 


Step 5

Take your short end and fold it over the pentagon. 


Step 6

Take your longer end and fold it over your pentagon. Guide it over a side and keep on folding it over your pentagon. The paper should guide itself over the rest of the pentagon with minor troubles. Once you reach the end of the paper, tuck it under another fold and rip excess off. 

**Try to keep your paper as close to the layer previous of it. Creasing the folds may be helpful.


Step 7

Put your fingers on the edges of your pentagon and squeeze it inwards gently. If it doesn't puff up like how it should be, flatted it out and try again. 


Your lucky star is done!

I put all of mine in a Mason Jar. I used a pretty blue copy paper and regular white. :)

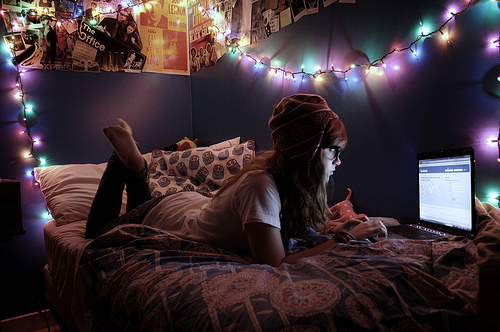
One of my friends persuaded me to pull of my first all-nighter. I was really nervous since I was afraid that I would crash immediately a few hours after the sun rises. It was just for fun, so it wasn't too overly boring or exciting either. There were no prank calls, no pigging out, no PS3 playing. It was just me, my computer, my charger, and my bed.

Heres a short recap of my night (or should I say morning?).

11:30pm - Upstairs. In bed with computer. Totally ready to conquer the night before me. I'm on League of Legends, Skype, and Facebook chatting with whoevers on.


12:30 - In Skype call with a friend who is staying up with me. Complaining about how tired I was, and that 'it was only 12:30. Finally decides to grab my computer charger from downstairs. Begins to surf the web and Google 'tips on all-nighters'


1:30 - Games on League of Legends. Ranked games and Arams for days. Complaining ensues about how 'it's only 1:30 and I'm tired af'. Decide to screw around with my Blogger theme and surfs Tumblr


2-3 - Screws around Ask.fm. Talks about weird things. More Tumblr. Googles 'when does the sun come up' about fifty times. Tweets about the all-nighter. Goes through instagram. Bored. Continually asks my friend what he's doing and asking what should we do.


4:50 - Almost collapses from exhaustion. Keeps on denying that 'I'm tired'. "Of course I'm not, I'll stay up if you'll stay up." Desperately anticipates the sunrise which was supposed to rise around 5:04am.


5:20 - Collapses from exhaustion.


Tips on your first night:

  • Try it with a friend. It doesn't matter if s/he has done it before or not. If they have, they can walk you through it. If they haven't, you two can experience it together!
  • Avoid the bed. You don't want to go into that warm, comfy, soft place if you want to stay awake.
  • Keep yourself busy. You can talk with a friend. Surf the interwebs. Truth or dare. Or you could simply talk. 
  • Remember to keep your computer screen brightness low!
  • Cold water helps to keep you up. If you ever feel tired, just splash water. 
I honestly don't know if I want to do this again. It was not as fun as I expected it be, but I could tell that it would be boring to do it by yourself if you don't have a specific goal to finish by the end of the night. If I ever were to do it for fun, I would do it with a friend. Plus, wifi at night is better at my house and the hours seem to go by faster too! 
Kawaii - ka-why-ee - Japanese for 'loveable', 'cute' or 'adorable'

One of my favorite things when I go back to school is to bring out my pencil case. Since I'm halfway through Geometry, I thought it would be a good time to bring up what I bring to summer school on a daily basis.

Pencils - A staple in any pencil case for sure. I have Pilot Dr. Grip Play Shaker Mechanical Pencil using 0.5 lead in Sky Blue and Grass Green. I just attached a panda and bear charm that I received as gifts. They matched the pencils pretty nicely. Behind those two is my Une Onde Coloree pencil I received from a friend. It's in this really adorable blue/teal color and it's eraser is shaped as a star!


 Highlighter - I am absolutely obsessed with this one highlighter. I'm sorry, but I have no idea where I got his highlighter from. But I've used it so much that ti's color has become sort of dry/worn down so it inks in this lovely light blue color.
 Pens - I use two pens during Geo. I believe they were bought from Daiso, and again, I don't have a link for you guys. They have this really cute artwork on the front and they are black on one side and green/yellow on the other. They came in one package as a set and I love them.


Case - This case was gifted to me from a friend who visited Korea. It has a butterfly charm attached to the zipper (not photographed). Along with those pens and pencils, I also bring a red pen (which can be seen at the top right corner in the picture above), a pack of 0.5 lead, a plain white erase, one Ticonderoga pencil (with pencil cap), a pencil sharpener, and a compass.
*Lip Balm - Eos - Passion Fruit


Along with these things, there are certain things that I don't keep in my pencil case. Like my calculator (and old Casio one that my mother bought back in the 1990s), a protractor, a folder, and my notebook. I keep it all in an over-the-shoulder green canvas bag with buttons all over it.
We all have that time where we have no idea what to write, draw or create. Where one day our creativity just decides to stop running and leave us with a lot of loose bits in which we can't tie together. Well here are my ways to overcome that and slowly get your gears turning!

Listen to Music
I find music really helpful especially if your sitting in front of a blank Word document on your laptop. I have specified playlists that contain a specific mood. It kind of sets the tone that I want to write in. It gets my mind in this very emotional state where my creativity can feed on that.


Scroll through Social Media (aka Tumblr)
I find that if you go through your feed, you can find some pretty inspiring stuff. Maybe that one picture made you want to draw a vase of roses, or that one tweet makes you want to write a story based off of it. All of these are creative saplings that you can use to create works.

Sit on your toilet for a while (or you can twiddle your thumbs)
It's shown that we have better ideas when we are bored. It's not exactly when we're bored, just when we're in a "relaxed state of mind". That's why you get great epiphanies in the shower, on the toilet, or in bed. You aren't doing anything that occupy your mind which lets it wander. You could always keep pen and paper close to you in the bathroom.


Read and Eat 
Nothing makes your creativity run like a good book and tasty food! Who knows what your OTP (One True Pairing) is up to in the next installment of your favorite series? Make a fanfiction out of it and create some fan art.
My name is Audrey and this is my blog.

Welcome! I hope that you guys have a great time here and enjoy your stay. I am a high school freshman currently and I hope to be blogging the rest of my high school and onward!

What I will be blogging about: 

  • books
  • life
  • anything that pops into mind
I'll try to keep this up and running. 

Have a nice day~